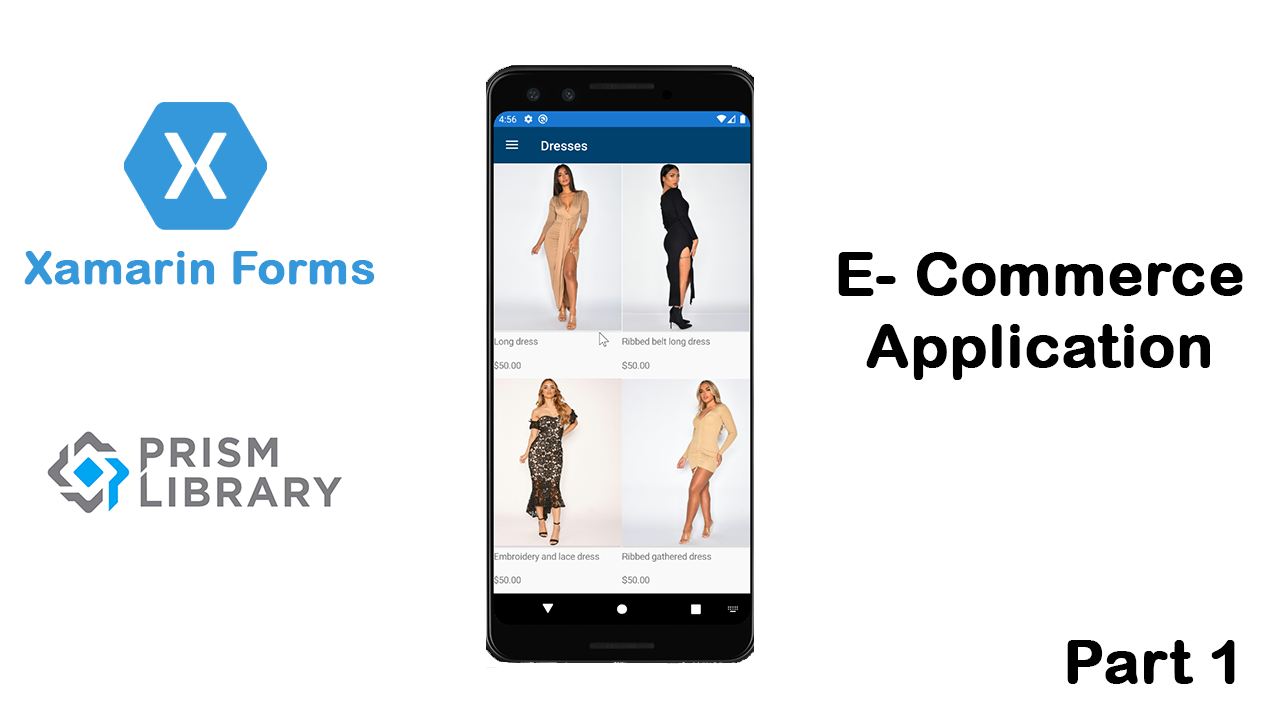
In this new tutorial series, we will see how to develop an E-commerce application, using Xamarin forms Prism template. In order to install Prism template, I invite you to check my first Xamarin Forms – Prism.
The code is available on GitHub.
You can find more details in my video on my YouTube channel :
Add HomeMasterDetailPage
First of all, let’s add a new page type off MasterDetailPage called HomeMasterDetailPage, in which we ‘ll define a menu and Hamburger button to show or hide the menu. Essentially, the menu will contain the different product categories like (Dresses , Pants, Shoes … ).
When user click on menu item, so we drive the user to ProductsPage switch the clicked category.
<?xml version="1.0" encoding="utf-8" ?>
<MasterDetailPage xmlns="http://xamarin.com/schemas/2014/forms"
                  xmlns:x="http://schemas.microsoft.com/winfx/2009/xaml"
                  xmlns:prism="http://prismlibrary.com" xmlns:Views="clr-namespace:Shopping.Views"
                  prism:ViewModelLocator.AutowireViewModel="True"
                  x:Class="Shopping.Views.HomeMasterDetailPage"
                  NavigationPage.HasNavigationBar="False"
                  x:Name="MasterPage">

    <MasterDetailPage.Master>
        <NavigationPage Title="Menu"
                        IconImageSource="ic_hamburger.png">
            <x:Arguments>
                <ContentPage NavigationPage.HasBackButton="False"
                             Title="Menu"
                             Padding="0">
                    <Grid RowDefinitions="*,auto">
                        <StackLayout Margin="10">
                            <!--Dresses-->
                            <StackLayout >
                                <Label Text="Dresses"
                                       Style="{StaticResource MenuItemLabelStyle}"/>
                                <BoxView Style="{StaticResource BoxViewSeparatorStyle}"/>
                                <StackLayout.GestureRecognizers>
                                    <TapGestureRecognizer Command="{Binding Source={x:Reference MasterPage}, Path=BindingContext.MenuItemClickCommand}"
                                                          NumberOfTapsRequired="1"
                                                          CommandParameter="Dresses"/>
                                </StackLayout.GestureRecognizers>
                            </StackLayout>

                            <!--Pants-->
                            <StackLayout>
                                <Label Text="Pants"
                                       Style="{StaticResource MenuItemLabelStyle}"/>
                                <BoxView Style="{StaticResource BoxViewSeparatorStyle}"/>
                                <StackLayout.GestureRecognizers>
                                    <TapGestureRecognizer Command="{Binding Source={x:Reference MasterPage}, Path=BindingContext.MenuItemClickCommand}"
                                                          NumberOfTapsRequired="1"
                                                          CommandParameter="Pants"/>
                                </StackLayout.GestureRecognizers>
                            </StackLayout>

                            <!--Shoes-->
                            <StackLayout>
                                <Label Text="Shoes"
                                       Style="{StaticResource MenuItemLabelStyle}"/>
                                <BoxView Style="{StaticResource BoxViewSeparatorStyle}"/>
                                <StackLayout.GestureRecognizers>
                                    <TapGestureRecognizer Command="{Binding Source={x:Reference MasterPage}, Path=BindingContext.MenuItemClickCommand}"
                                                          NumberOfTapsRequired="1"
                                                          CommandParameter="Shoes"/>
                                </StackLayout.GestureRecognizers>
                            </StackLayout>
                        </StackLayout>
                    </Grid>

                </ContentPage>
            </x:Arguments>

        </NavigationPage>
    </MasterDetailPage.Master>
    <MasterDetailPage.Detail>
        <NavigationPage>
            <x:Arguments>
                <Views:MainPage/>
            </x:Arguments>
        </NavigationPage>
    </MasterDetailPage.Detail>

</MasterDetailPage>
TapGestureRecognizer is used to catch the user tap gesture. Eventually You can specify the number of taps required to invoke the command and the command parameter. In our case we give the target product category.
Style
Like in web development, in Xamarin Forms we have App.xaml file, in which we can centralize the common style used for Menu items, frames… Obviously, the objective of this is avoiding code duplication.
      <!--Colors-->
        <Color x:Key="PrimaryColor">#00416E</Color>
        <Color x:Key="SeparatorGrayColor">#DCDCDC</Color>
        <Color x:Key="BlackColor">#000</Color>
        <Color x:Key="WhiteColor">#FFF</Color>
        <Color x:Key="StylishGrayColor">#4B515D</Color>

        <!--Navigation bar-->
        <Style TargetType="NavigationPage">
            <Setter Property="BarBackgroundColor" Value="{StaticResource PrimaryColor}"/>
            <Setter Property="BarTextColor" Value="White"/>
        </Style>

        <Style x:Key="MenuItemLabelStyle" TargetType="Label">
            <Setter Property="FontSize" Value="20"/>
            <Setter Property="Margin" Value="10,0,0,0"/>
            <Setter Property="TextColor" Value="{StaticResource BlackColor}"/>
            <Setter Property="VerticalTextAlignment" Value="Center"/>
        </Style>

        <Style x:Key="BoxViewSeparatorStyle" TargetType="BoxView">
            <Setter Property="Margin" Value="0,3"/>
            <Setter Property="HeightRequest" Value="1"/>
            <Setter Property="HorizontalOptions" Value="FillAndExpand"/>
            <Setter Property="Color" Value="{StaticResource SeparatorGrayColor}"/>
        </Style>
Also, We can change the navigation bar color by adding some style here by defining the BarBackgroundColor and BarTextColor. It’s more elegant!
On the other side, we don’t have much to put in the viewmodel. Only the binding of the MenuItemClickCommand. So your ViewModel will look like:
public class HomeMasterDetailPageViewModel : ViewModelBase
    {
        #region Properties
        #endregion

        #region Commands
        public ICommand MenuItemClickCommand { get; private set; }
        #endregion
        public HomeMasterDetailPageViewModel(INavigationService navigationService)
            :base(navigationService)
        {
            MenuItemClickCommand = new DelegateCommand<string>(MenuItemClick);
        }

        private void MenuItemClick(string categoryName)
        {
            var nagivationParams = new NavigationParameters { { "CategoryName", categoryName } };
            NavigationService.NavigateAsync($"{nameof(NavigationPage)}/{nameof(ProductsPage)}", nagivationParams);
        }
    }
In side the MenuItemClick method, we create nagivationParams variable that contains the selected category.
Finally, call the NavigationService defined in the parent class.
ProductsService and ProductsPage
Now, we gone create new page called ProductsPage. In this page we will display the list of products in the selected category. In general, we show a collection view that contains Thumbnail, the product name and the price.
When user tap on an item from this collection view, we navigate to new page in which we can show more details of the selected product like description, technical details or the different sizes and colors are available, the price…. and eventually don’t forget the Buy button.
So, in the ProductsPage, let’s add the collection view. Bind the ItemsSrouce property to ProductsList, that will be defined in the viewmodel class. The ItemsLayout property equal to “VerticalGrid, 2”, which means that the collection view will display items in grid with 2 columns and has a vertical orientation. Your code will look like:
<?xml version="1.0" encoding="utf-8" ?>
<ContentPage xmlns="http://xamarin.com/schemas/2014/forms"
             xmlns:x="http://schemas.microsoft.com/winfx/2009/xaml"
             xmlns:prism="http://prismlibrary.com"
             prism:ViewModelLocator.AutowireViewModel="True"
             x:Class="Shopping.Views.ProductsPage"
             Title="{Binding Title}"
             x:Name="ProductsView">
    <Grid>
        <CollectionView ItemsSource="{Binding ProductsList}"
                        ItemsLayout="VerticalGrid, 2"

                        Margin="5">
            <CollectionView.ItemTemplate>
                <DataTemplate>
                    <StackLayout>
                    <Grid RowDefinitions="auto,30,50,1"
                          ColumnDefinitions="*,70"
                          Margin="0,4,0,0">
                        <Frame BorderColor="LightGray"
                               Padding="3"
                               Grid.ColumnSpan="2">
                            <Image Source="{Binding Thumbnail}"
                               Aspect="AspectFill"
                               VerticalOptions="Center"
                               HorizontalOptions="Center"/>
                        </Frame>
                        <Label Grid.Row="1"
                               Grid.ColumnSpan="2"
                               Style="{StaticResource ProductTitleLabelStyle}"
                               HorizontalOptions="Start"
                               Text="{Binding Name}"/>
                        <!--<Label Grid.Row="2"
                               Grid.Column="1"
                               Style="{StaticResource ProductPriceLabelStyle}"
                               TextColor="{StaticResource BlackColor}"
                               HorizontalOptions="Start"
                               Text="{Binding Price, StringFormat='{0:C2}'}"/>-->

                        <Frame Grid.Row="2"
                               Grid.Column="1"
                               CornerRadius="5"
                               HasShadow="True"
                               Margin="0"
                               Padding="0"
                               BackgroundColor="{StaticResource StylishGrayColor}"
                               WidthRequest="60"
                               HeightRequest="35"
                               VerticalOptions="Center"
                               HorizontalOptions="Center"
                               BorderColor="Gray">
                                    <Label  Text="{Binding Price, StringFormat='{0:C2}'}"
                                            Style="{StaticResource ProductPriceLabelStyle}"/>
                        </Frame>

                        <Grid.GestureRecognizers>
                            <TapGestureRecognizer Command="{Binding Source={x:Reference ProductsView}, Path=BindingContext.ShowProductDetailsCommand}"
                                                  NumberOfTapsRequired="1"
                                                  CommandParameter="{Binding .}"/>
                        </Grid.GestureRecognizers>
                        <!--<Frame Grid.Row="2"
                               Grid.Column="1"
                               CornerRadius="50"
                               VerticalOptions="Center"
                               HorizontalOptions="Center"
                               Padding="5"
                               Margin="0,0,5,5">
                            <Image Source="add_to_basket.png"/>
                        </Frame>-->
                    </Grid>
                    </StackLayout>
                </DataTemplate>
            </CollectionView.ItemTemplate>

        </CollectionView>
    </Grid>
</ContentPage>
Eventually, use the TapGestureRecognizer like in the HomeMasterDetailPage to bind the user click on product to ShowProductDetailsCommand. When user selects a product, he will be redirected to ProductDetailsPage.
Before going to the ViewModel, we gonna create a new folder called Services, in which we create a new class called ProductsService and its interface IProductsService.
In fact, the services play the role of provider. For example, we call the Web API to get the list of products. At the moment, we will make a stub to return a list for fake products. In advanced article, we gonna see haw to implement a generic BaseService using HttpClient.
In this service we have essentially, 2 methods GetProductsByGategoryName and GetProductsImages.
So you service looks like:
using Shopping.Models.Enums;
using Shopping.Models.Models;
using Shopping.Services.Interfaces;
using System;
using System.Collections.Generic;
using System.Linq;

namespace Shopping.Services
{
    public class ProductsService : IProductsService
    {
        /// <summary>
        /// Gets the available products list by category name.
        /// </summary>
        /// <param name="categoryName">The target category Name</param>
        /// <returns>The found prodycts.</returns>
        public IEnumerable<ProductModel> GetProductsByGategoryName(string categoryName)
        {
            ProductsEnum productCategory;
            List<ProductModel> mockList = new List<ProductModel>
            {
                new ProductModel{ID = 1, Category = ProductsEnum.Pants, Name = "High rise skinny jeans", Price = 50, Thumbnail = "https://m1.jeans-industry.fr/201863-thickbox/jeans-bleu-delave-taille-haute.jpg" },
                new ProductModel{ID = 2, Category = ProductsEnum.Pants, Name = "High waist destroyed jeans", Price = 50, Thumbnail = "https://m1.jeans-industry.fr/210026-thickbox/jeans-taille-haute-destroy.jpg" },
                new ProductModel{ID = 3, Category = ProductsEnum.Dresses, Name = "Long dress", Price = 50, Thumbnail = "https://m1.jeans-industry.fr/195837-thickbox/robe-longue.jpg" },
                new ProductModel{ID = 4, Category = ProductsEnum.Dresses, Name = "Ribbed belt long dress", Price = 50, Thumbnail = "https://m3.jeans-industry.fr/190595-thickbox/robe-longue-cotele-a-ceinture.jpg" },
                new ProductModel{ID = 5, Category = ProductsEnum.Dresses, Name = "Embroidery and lace dress", Price = 50, Thumbnail = "https://m3.jeans-industry.fr/181489-thickbox/robe-a-broderies-et-dentelles.jpg" },
                new ProductModel{ID = 6, Category = ProductsEnum.Dresses, Name = "Ribbed gathered dress", Price = 50, Thumbnail = "https://m2.jeans-industry.fr/227238-thickbox/robe-cotelee-froncee.jpg" },
            };

            productCategory = (ProductsEnum)Enum.Parse(typeof(ProductsEnum), categoryName);
            return mockList.Where(x => x.Category == productCategory);
        }


    }
}
Finally, let jump into the ViewModel file and add the ProductsList property and the ShowProductDetailsCommand.
using Newtonsoft.Json;
using Prism.Commands;
using Prism.Navigation;
using Shopping.Models.Models;
using Shopping.Services.Interfaces;
using Shopping.Views;
using System.Collections.Generic;
using System.Windows.Input;

namespace Shopping.ViewModels
{
    public class ProductsPageViewModel : ViewModelBase
    {
        #region Properties
        private readonly IProductsService productsService;

        private IEnumerable<ProductModel> productsList;

        public IEnumerable<ProductModel> ProductsList
        {
            get => productsList;
            set => SetProperty(ref productsList, value);
        }

        private ProductModel selecetdProduct;
        public ProductModel SelectedProduct
        {
            get => selecetdProduct;
            set => SetProperty(ref selecetdProduct, value);
        }
        #endregion

        #region Commands
        public ICommand ShowProductDetailsCommand { get; private set; }
        #endregion

        public ProductsPageViewModel(INavigationService navigationService, IProductsService productsService)
            : base(navigationService)
        {
            this.productsService = productsService;
            ShowProductDetailsCommand = new DelegateCommand<ProductModel>(ShowProductDetails);
        }

        private void ShowProductDetails(ProductModel product)
        {
            var nagivationParams = new NavigationParameters { { "Product", JsonConvert.SerializeObject(product) } };
            NavigationService.NavigateAsync(nameof(ProductDetailsPage), nagivationParams);
        }

        public override void OnNavigatedTo(INavigationParameters parameters)
        {

        }
        public override void Initialize(INavigationParameters parameters)
        {
            string categoryName = parameters.GetValue<string>("CategoryName");
            Title = categoryName;
            InitData(categoryName);
        }

        private void InitData(string categoryName)
        {
            ProductsList = productsService.GetProductsByGategoryName(categoryName);
        }
    }
}
The last step, is adding the ProductsService in the list of DI(Dependency injection) to create by Unity container in App.xaml.cs.
protected override void RegisterTypes(IContainerRegistry containerRegistry)
 {
   containerRegistry.RegisterSingleton<IAppInfo, AppInfoImplementation>();
   containerRegistry.RegisterForNavigation<NavigationPage>();
   containerRegistry.RegisterForNavigation<MainPage, MainPageViewModel>();
   containerRegistry.RegisterForNavigation<HomeMasterDetailPage, HomeMasterDetailPageViewModel>();
   containerRegistry.RegisterForNavigation<ProductsPage, ProductsPageViewModel>();

   containerRegistry.Register<IProductsService, ProductsService>();
   containerRegistry.RegisterForNavigation<ProductDetailsPage, ProductDetailsPageViewModel>();
        }
Now, you can run the application and If things go well, you will see the list of you products.

In the next tutorial, we will see how to add the products details page with the different sizes and colors available.
Follow Me For Updates
Subscribe to my YouTube channel or follow me on Twitter or GitHub to be notified when I post new content.
Nice!!! I tried following the video tutorial on YouTube but but couldn’t get my codes working properly.
So happy to see the raw codes here. Bow I cab compare and contrast to see what was missing in mine